How PaperFit AI Works | Preview in 4 Steps
From photo to preview, in four steps
No software to install, no design skills required: PaperFit guides the user from a photo of the room to a photorealistic room preview.
- The photo of the room
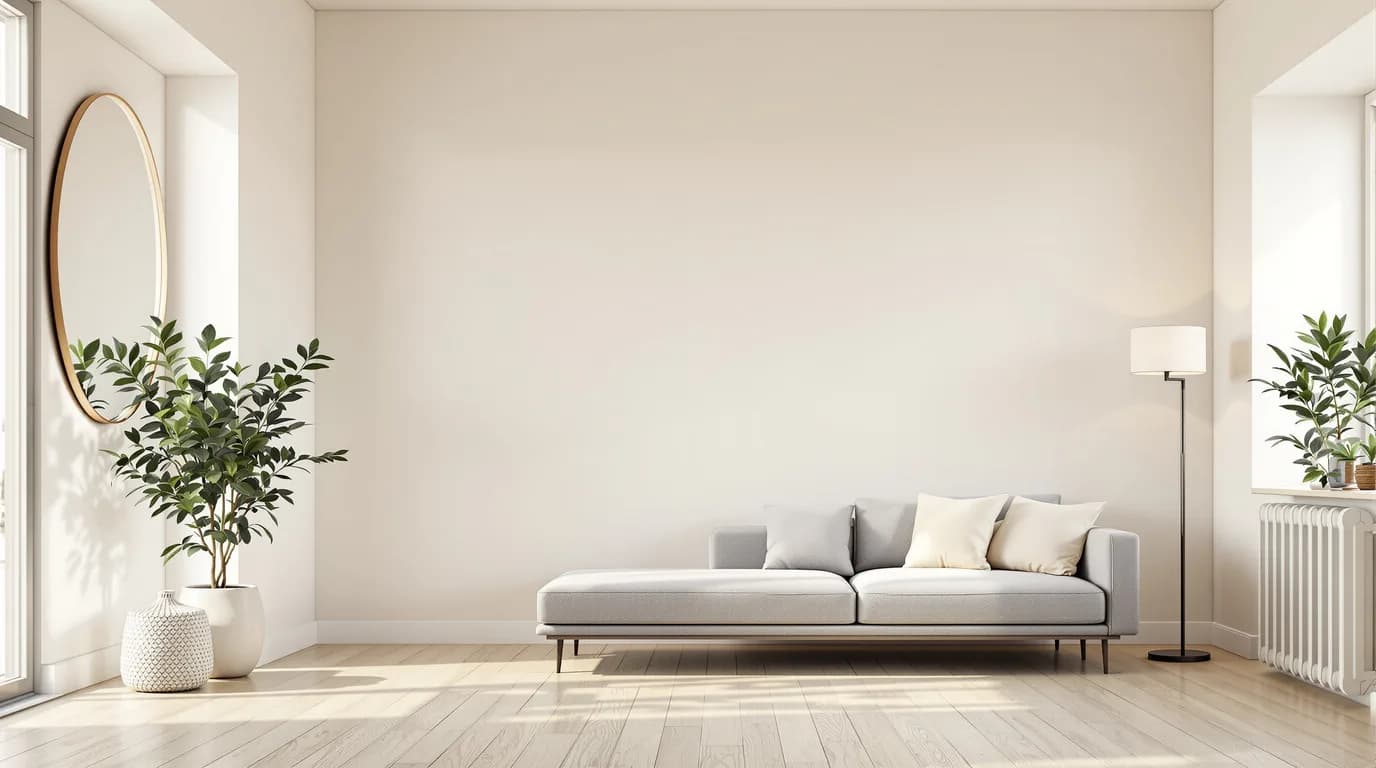
A real photo of the room: a smartphone is enough.
01
Photograph the room
A photo taken with a smartphone is enough, or upload an image from your archive. The room can be furnished: objects in front of the wall are recognised and kept in place.
- The traced wall
Illustration of the gesture: you tap the corners of the wall.
02
Trace the wall
Tap the corners of the wall to outline it. This is where you decide where it goes: a whole wall, several walls turning a corner, or even just half a wall.
- The real measurements
The dimensions shown are illustrative: width and height are entered in cm.
03
Enter the real measurements (cm)
The dimensions of the wall and the design, in centimetres, drive everything: true scale, the number of repeats, the print resolution. The preview reflects the real physical result.
- The generated preview
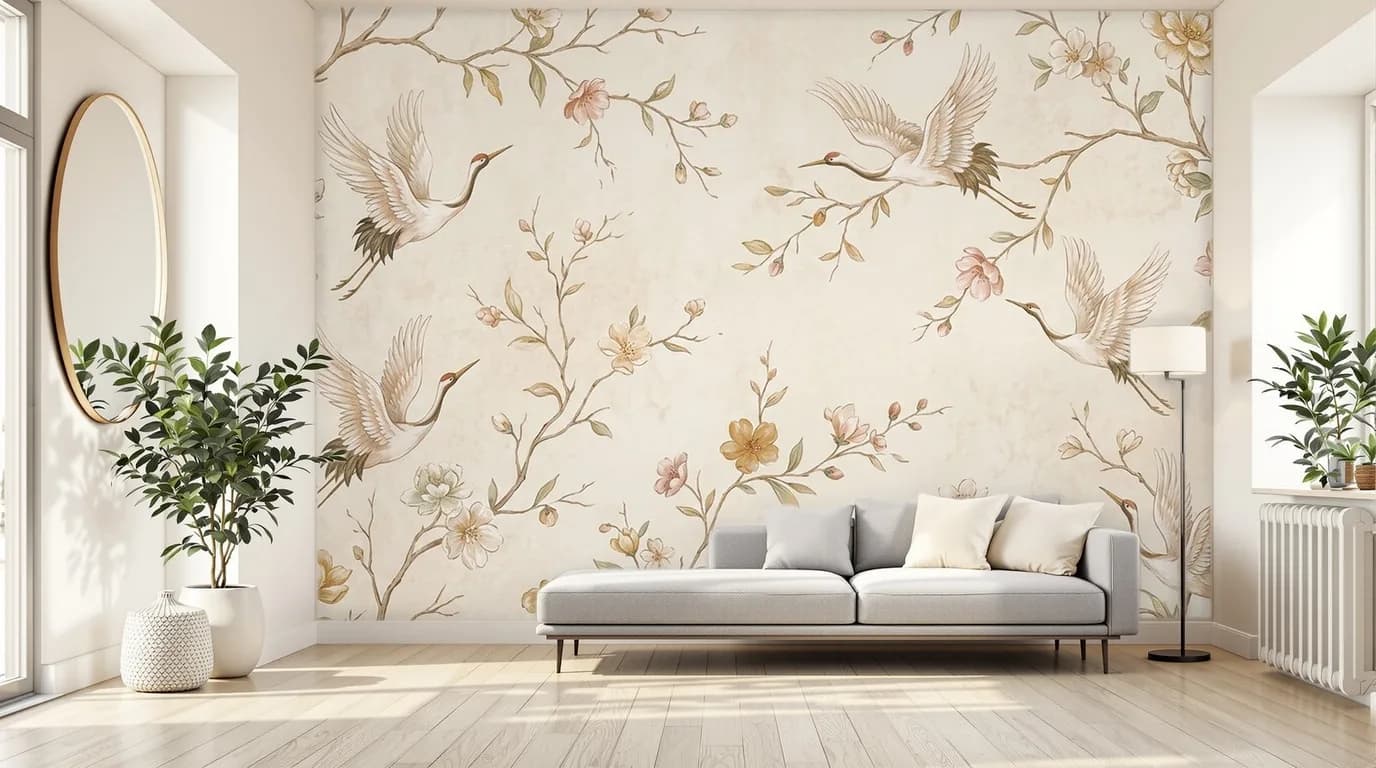
Real PaperFit output, untouched.
04
Generate the preview
The engine chooses the fitting strategy the way a professional print designer would and produces the final photorealistic render: perspective respected, corners continuous, objects kept in place, the room's light preserved. It takes about 70 seconds: the time top quality requires.
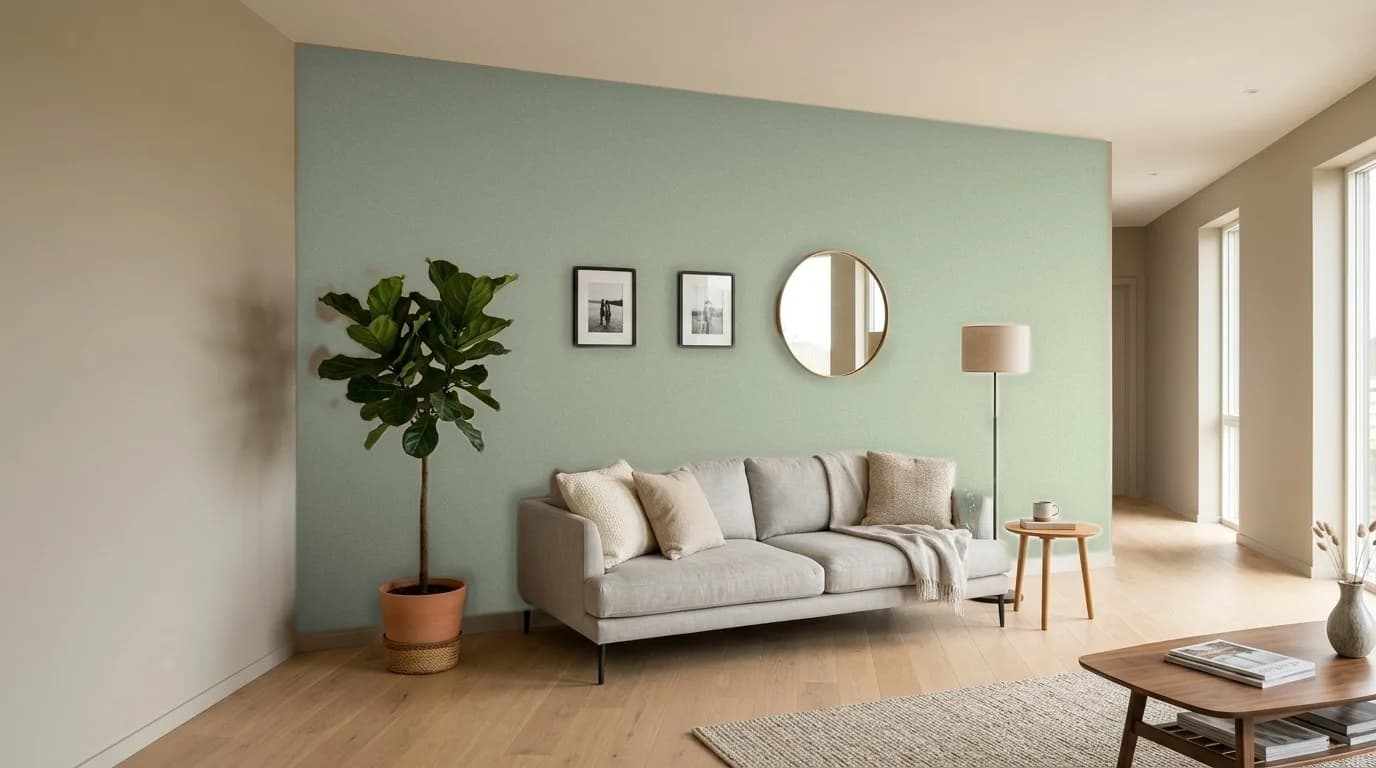
Simulate the colour
And for colour?
Same flow: instead of a design, choose a shade — from the curated palette or with a hex, RAL or NCS code. The wall is repainted preserving the real light and shadows.